01
What makes a good Tanzania photography safari guide
Most people who arrive with a camera expect the animals to do the hard work, and for the first hour they often do. Then the light turns flat, the lion is asleep behind a bush and the picture you imagined is not there. This Tanzania photography safari guide is about closing that gap: choosing the kit that suits the conditions, understanding light, and learning the habits that separate a snapshot from a picture you will print.
Wildlife photography in Tanzania rewards patience more than gear. Some of the finest frames we have seen came from phones and modest zooms, because the photographer waited, chose a background and knew when to press. Equipment helps, especially for distant birds and shy cats, but the basics of light, timing and respect for the animal come first. None of what follows needs a professional budget.
We write this from long experience beside photographers in the field. Our own photographic safari content describes trips run on the photographer's clock, with first light departures and longer stays at each sighting. You do not need a specialist trip to use these ideas, but if photography is the heart of your visit, tell us when you enquire so that we plan the vehicle, the timetable and the number of people around you.
02
Cameras and lenses: the best camera for safari
The best camera for safari is the one you know how to use quickly. Any modern mirrorless or DSLR body with fast autofocus, good performance at high ISO and a quick burst rate will do the job. Bridge cameras with a long built in zoom are a sensible choice for travellers who do not want to carry much, and they cope well with most sightings from a vehicle.
The best lens for safari is a long one. A long telephoto lens, in the range of 400 mm to 600 mm on a full frame body, brings birds and distant cats within reach. Pair it with a mid-range zoom, something like 24 to 105 mm or 70 to 200 mm, for elephants beside the vehicle, landscapes and the moments when an animal walks too close for the big lens. Two bodies save you from changing lenses in dust, which is the usual risk.
A lens hood is worth keeping on at all times. It cuts glare when the sun is low, shields the front element from dust and gives a small measure of protection against knocks. Add a teleconverter only if you already own one and know how it affects focus speed. Do not buy a new lens the week before you fly: practise with it at home on moving subjects, such as birds at a feeder or dogs in a park.
03
Bean bags, window mounts and steady hands
Safari vehicles are a moving platform, even when parked, because passengers shift and the engine vibrates. A bean bag for safari, resting on the roof edge or the window frame, is the simplest and most effective support. Bring the cover empty and fill it with rice or beans in town, so it travels light. Tripods are awkward in a vehicle, and most guides prefer you leave them behind unless your trip is set up for them.
A window mount, a clamp that grips the door or the roof rail, holds a gimbal or ball head and is popular with serious photographers. If you have one, tell us before the trip so we can check that it fits the vehicle. On our photographic departures, the vehicle is set up with window level support, room for gear and charging, and fewer people inside, which makes a bigger difference than any accessory.
Whatever you use, learn to turn the engine off. Even an idling diesel passes vibration into the frame, and a long lens at 1/500 second can show it. Ask your guide to switch off when you settle at a sighting, and keep your elbows tucked in. Rest the lens on the bag, not on the metal, because metal transmits every tremor. Breathe out slowly as you press the shutter.
- Bean bag, empty for travel, filled on arrival.
- Window mount or clamp if you already own one and have told us.
- A soft cloth to protect the lens from the metal edge.
- A small towel to drape over gear during dusty drives.
04
Light: golden hour, midday and the shape of a day
Golden hour photography is the reason safari days start so early. In the hour after sunrise and the hour before sunset, the light is low, warm and soft, and it lights animals from the side so that fur, feathers and horns show texture. A first light departure gets you into the park as predators finish a night of hunting, and into position before the sun clears the horizon.
Midday light is the hard part. The sun overhead flattens shapes, creates deep shadows under eyes and bleaches colour. Do not give up, though. Midday is a good time for animals in shade, for black and white images, for water reflections and for elephants at a waterhole, where bright light on wet skin can look striking. Many photographers use these hours to rest, back up cards and charge batteries, which is what the guide has in mind too.
Weather gives gifts. Storm light in the green season turns grass an almost electric green against a dark sky, and a rainbow over a lion pride is possible in the months of the rains. Dust at the end of a dry day makes backlit animals glow. Overcast skies are kind to portraits because the shadows are gentle. Ask your guide how the sun will fall on a spot, and where to park.
05
Settings in plain words: shutter, aperture and burst
A good shutter speed for wildlife depends on what the animal is doing. For a lion lying still, 1/500 second is usually safe with a long lens. For a walking elephant, aim for 1/1000 second or faster. For birds in flight and running cats, go to 1/2000 second or higher. If you want to show motion, drop to a slow speed and try panning for movement: follow the animal with the camera and press as you sweep, which blurs the background into streaks.
For aperture, a wide opening such as f/5.6 or f/6.3 blurs a cluttered background and lets in light, while f/8 gives a little more depth when two animals stand at different distances. Let the camera choose ISO automatically within a limit you are happy with, because light changes quickly in the bush. Shoot RAW files if your camera allows it, since they keep far more detail in bright skies and dark fur for later editing.
Burst mode is your friend for any action. Hold the shutter down as a cheetah starts to run or a bird leaves a branch, and keep shooting for a second after the peak, because the best frame is often not the one you expected. Use continuous autofocus, and choose a focus area that you can move quickly. Review a few frames on the screen, then put the camera up again and watch the animal.
06
Focus on the eyes, then think about the background
A portrait of an animal lives or dies on the eyes. Focus on the eye nearest to you, and if the camera has animal eye detection, switch it on and test it before you travel. Even a slightly soft eye makes a picture feel wrong, while a sharp eye with the rest of the face falling away can be forgiven. Wait for the animal to look toward you, which usually happens when something distracts it.
Clean backgrounds separate the good from the average. Before you press, look past the animal at what sits behind it: a branch growing out of a head, a vehicle in the corner or a bright patch of sky will pull the eye away. Ask your guide to shift the vehicle a few metres, which can turn a messy backdrop into a smooth wash of colour. A low angle, with the lens at the animal's eye level, makes a subject feel present and calm.
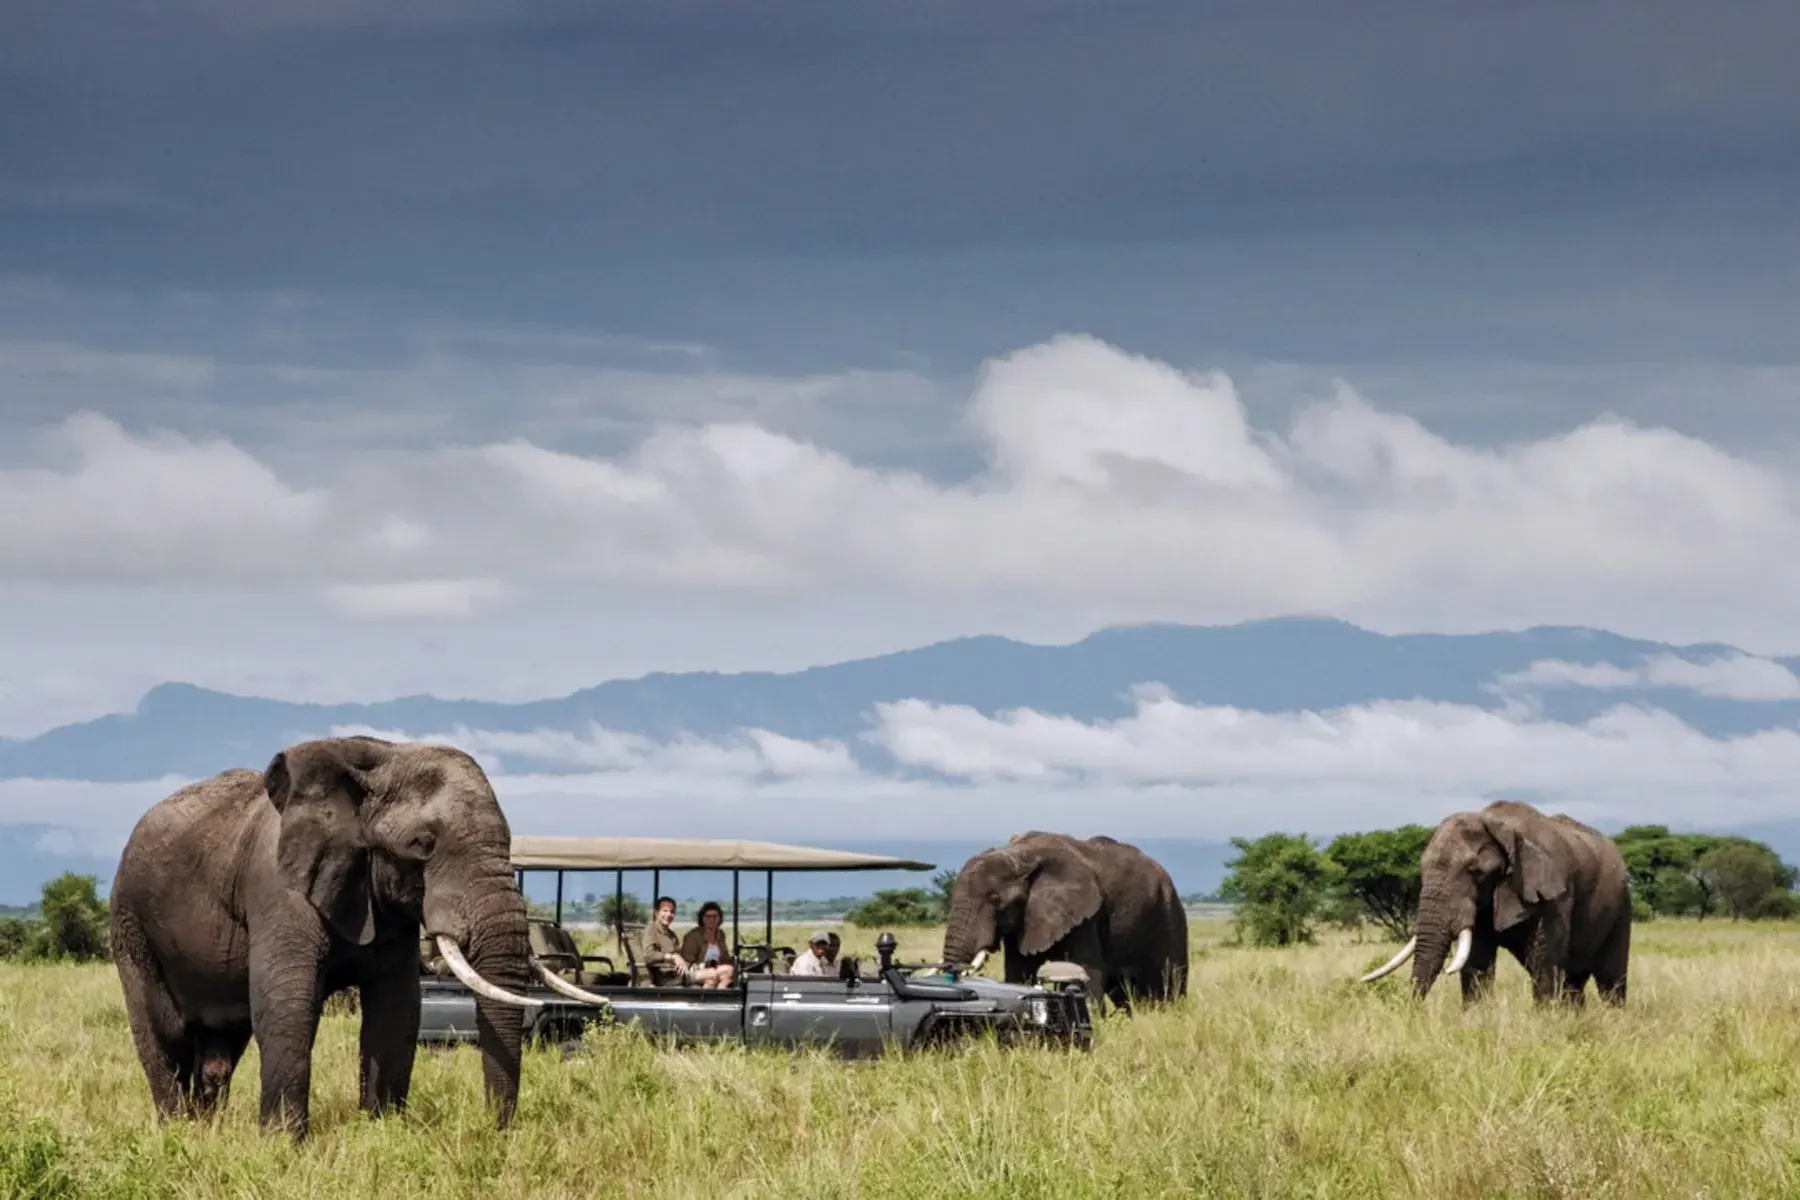
Do not always fill the frame. Leave space in the direction the animal is looking or moving, and sometimes pull back to show the animal in its landscape: a lone acacia, a herd on a ridge, Kilimanjaro on the horizon. Photographing elephants is a good place to practise this, as they are big, slow and tolerant, and they sit well against sky. Rule of thirds is a guide, not a law.
07
Dust, batteries and cards: keeping the kit alive
Camera dust protection is a daily job. The dry season fills the air with fine dust, and every open window sends a little in. Keep your camera in a bag or under a cloth between sightings, avoid changing lenses outdoors and use a blower brush, not breath or fingers, to clear the sensor housing at the lodge. A zipped plastic bag with a silica gel sachet is a cheap way to store gear overnight. Never wipe the sensor yourself.
Spare camera batteries save the day when cold mornings drain a charge faster than you expect. Bring at least two for each body, and charge them every night. Charging in the vehicle is possible in many safari vehicles, but power is limited, so check with us beforehand what sockets are provided, and bring a power bank and a multi-way adaptor. Tanzania generally uses Type D and Type G sockets at about 230 V, so pack the right plug.
Memory cards and backups deserve a routine. Shoot on several smaller cards instead of one huge card, so that a failure does not take the entire trip. Each night, copy your files to a laptop or an external drive, and keep a second copy somewhere separate, such as a cloud service when the Wi-Fi allows it. Do not format a card until the files are safe in two places.
08
Vehicle etiquette and working with your guide
Vehicle positioning is a skill, and a good guide has it. The aim is to place the vehicle so that the light falls on the animal's face, the background is clean and the animal is not disturbed. Photographing with a guide means treating them as part of the team: tell them what you hope to shoot, whether portraits, behaviour or wide landscapes, and they will plan around it. A quiet word works better than a demand.
Etiquette matters when several vehicles are at a sighting. Do not stand up, wave, shout or lean out. Keep your voice low, do not tap the vehicle and never ask the guide to drive off the track to get closer, because that damages habitat and is against park rules. Take your turn at a good spot, and let others have a view. If a sighting is crowded, ask your guide for a quieter alternative.
Share the space inside the vehicle. In a group, take turns on the best side, move to let others shoot and keep bags off the seats and floor. If you are on a photographic departure, only a few people share each vehicle, which is a different experience. Tell your guide if you want to stay longer with an animal, and tell them when you have what you came for.
09
Best parks, best months and moments to wait for
The best parks for photographers depend on your subject. The Serengeti and Ndutu suit predators and the migration, the Ngorongoro Crater suits portraits against hazy blue walls and the chance of a black rhino, Tarangire suits elephants among baobabs, and Lake Manyara offers flamingos and forest. In the south, Ruaha and Nyerere give you few vehicles and wild dog potential. Pick the park for the animal, not for the name.
The best month for safari photography is a personal choice. Calving season photography on the short grass around Ndutu runs roughly from January to March, with newborn wildebeest and daily hunts under dramatic clouds. River crossing photography belongs to about July to October in the northern Serengeti, with dust, noise and action, though crossings cannot be timed and light is harsh by mid morning. The green months bring storm skies and fewer vehicles.
Wait for behaviour. A lion yawns, a cheetah stands on a termite mound, a mother elephant lifts a trunk to check for scent. Photographing leopards often means sitting in one place for an hour for a few frames of a cat stepping down a branch. We cannot promise any of these moments, and we say so honestly. What a longer stay at a sighting does is raise the odds of seeing something real.
10
Birds, low light, drones and ethics
Birds in flight are among the hardest subjects. Use a fast shutter, continuous autofocus and a wide focus area, and follow the bird before you press. A bird landing or taking off is easier than one passing. Look for lilac-breasted rollers, bee-eaters, fish eagles and storks near water, where the background is clean. Low light photography is more forgiving with modern cameras, but go to a higher ISO deliberately and accept some grain.
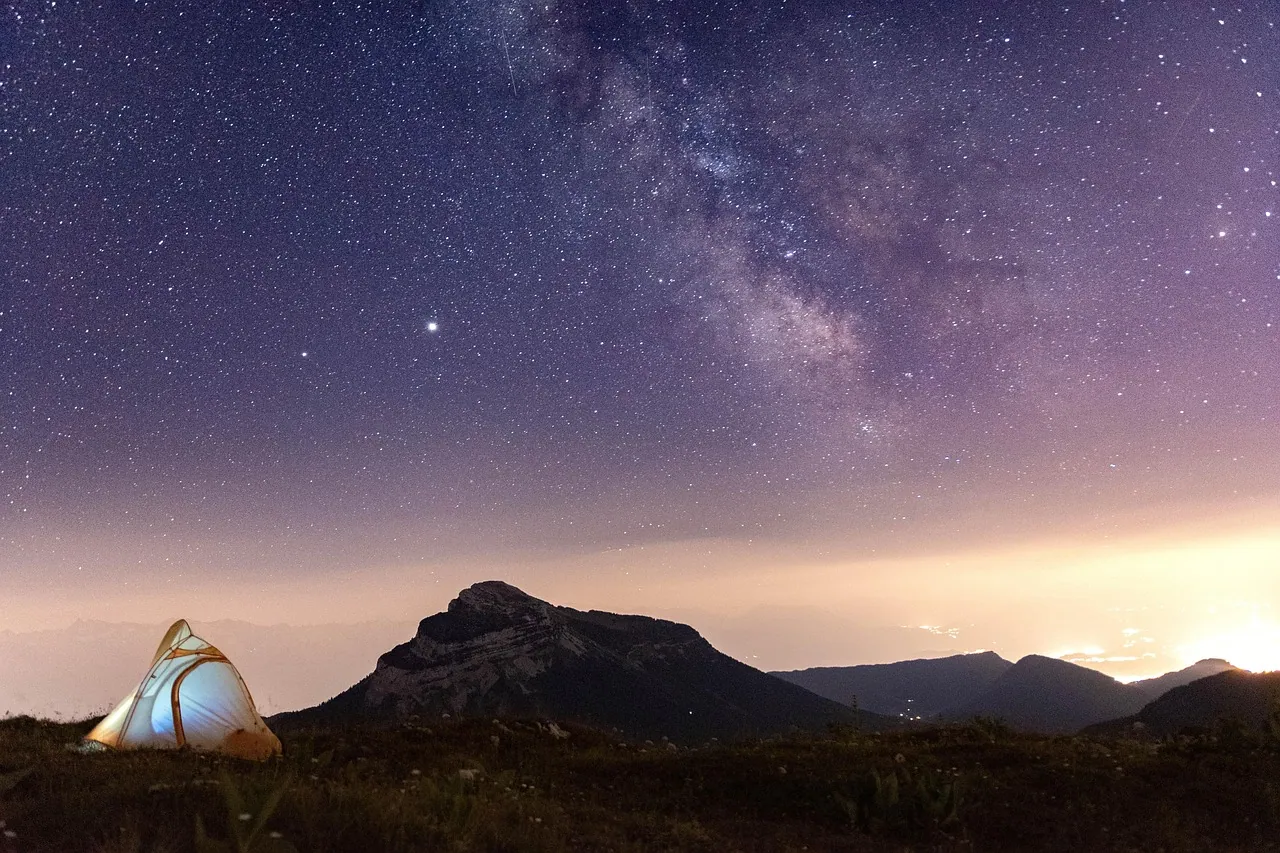
Night photography limits are real. Spotlights are controlled in the parks, game drives after dark happen only in certain areas and with permission, and flash is not allowed near animals because it can disturb them. Do not expect to photograph leopards at night from a standard vehicle. If you want star photography at camp, ask us about a safe spot, since you must not walk unescorted after dark.
Drones in Tanzania are tightly controlled. Permits are generally required, national parks and reserves restrict or ban their use, and rules change, so please check current rules with the aviation authority and park authorities before bringing one, and leave it at home unless we have confirmed in writing. Ethical wildlife photography is simple: never disturb, bait, crowd or chase an animal, and if it changes behaviour because of you, back away. No photograph is worth stressing a mother and her young.
11
Editing safari photos and a simple kit list
Editing safari photos begins with choosing. After a trip you may have thousands of frames, and the discipline is to keep the best handful from each sighting. Straighten the horizon, crop to improve composition, lift shadows gently and avoid heavy saturation, which makes fur and sky look unnatural. Adjust colour to match what you remember, not what looks loud. Shooting RAW makes these changes easier.
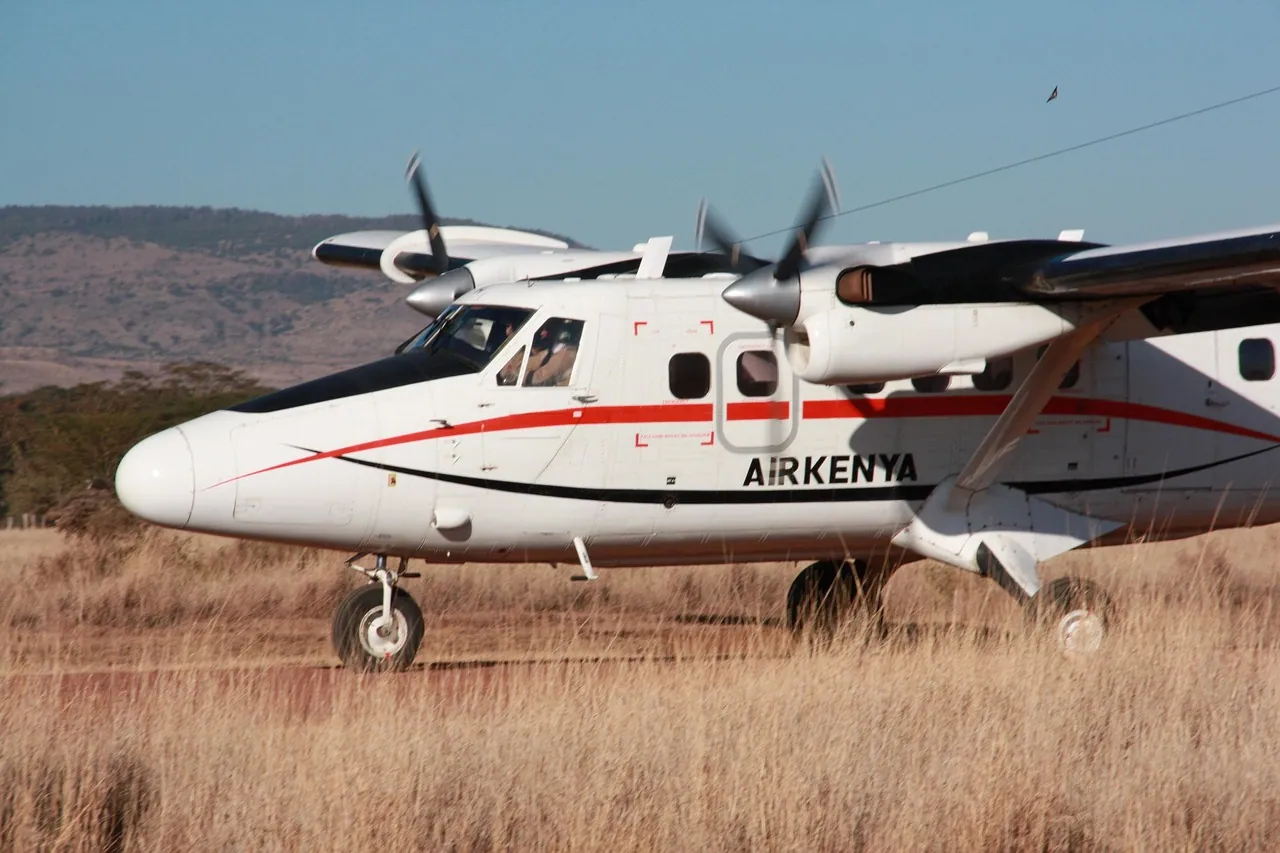
Safari photography tips are easier to remember when they come as a kit list. This safari photography kit list is a sensible baseline for a first photographic trip, and you can add or drop items. Pack the kit in a padded bag you can carry on board, since cameras and lenses should not go in checked luggage, and note the weight limits on light aircraft if your itinerary includes them.
Last, remember to put the camera down now and then. Some of the best moments are the ones you watch with your own eyes, binoculars in hand, as a cheetah looks across the plain or the sun drops behind an acacia. Your pictures will carry more feeling if you were truly there when you took them, and your guide will enjoy the quiet too.
- Camera body and a spare body or compact backup.
- Long telephoto lens and a mid-range zoom, with lens hoods.
- Bean bag cover, lens cloth, blower brush and plastic bags.
- Two or more batteries, charger, power bank and plug adaptor.
- Several memory cards, a card wallet and a way to back up nightly.
- Binoculars, a neutral coloured hat and a light rain cover.